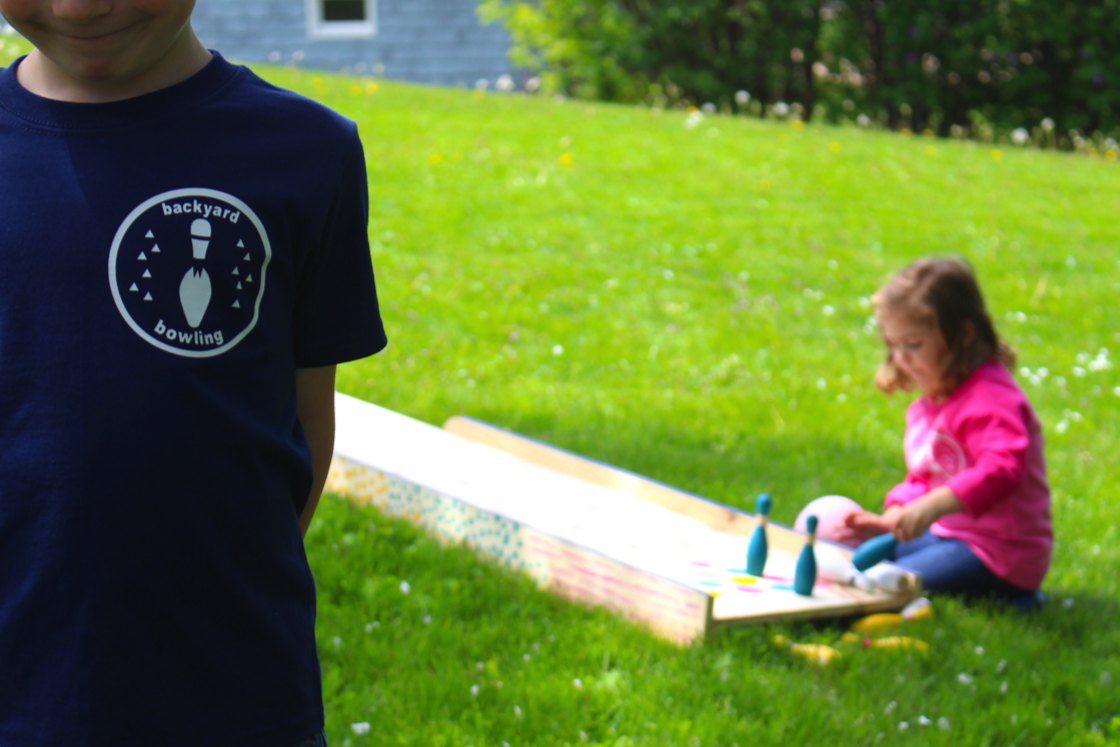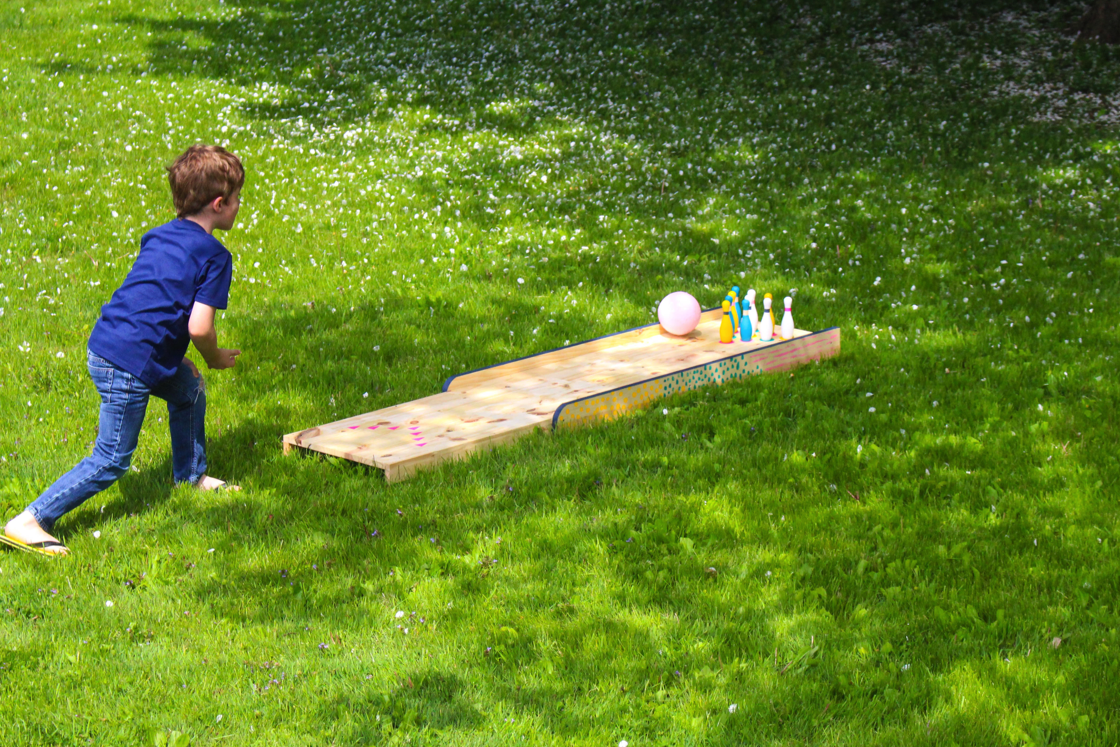
Hey, remember that cool DIY backyard bowling project I did with eHow at the beginning of the summer? I have been meaning to show you how I partnered with Cricut to make the cutest shirts to go with the bowling alley!
Step 1 - Head into the Cricut Design Space and grab a couple images for your workspace, such as a circle, triangle, bowling pin (just search it in images), and the words "backyard" and "bowling" written out in Arial Black font.
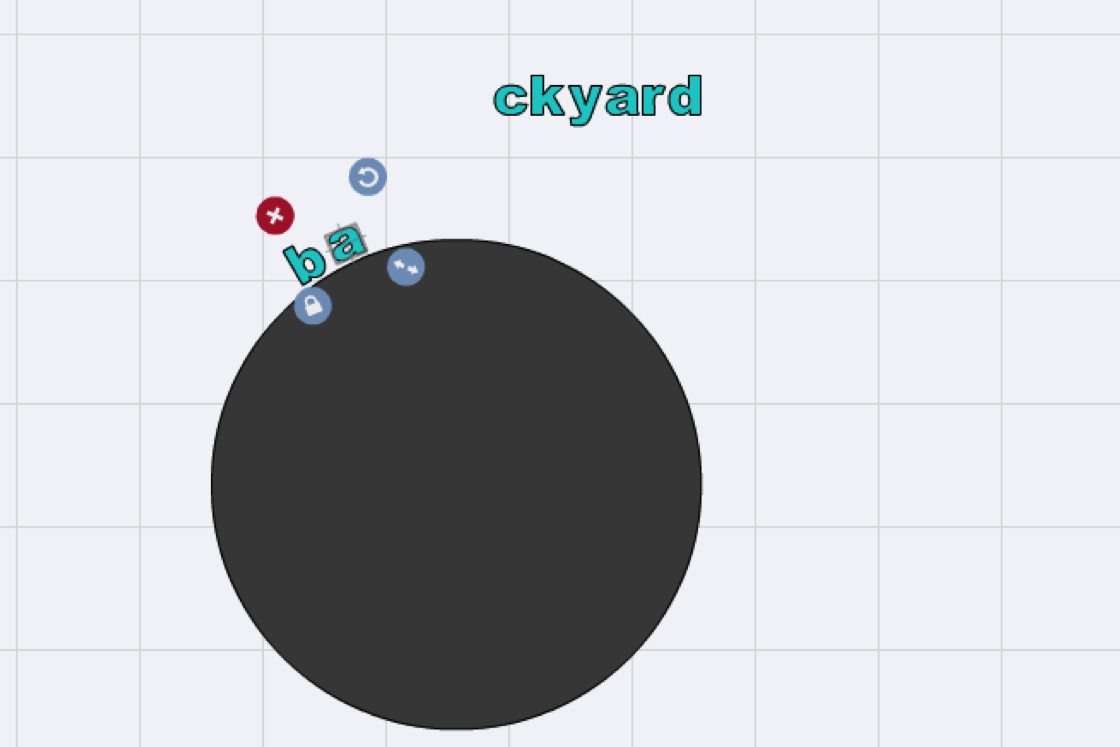
Step 2 - Ungroup the letters in each word and curve them around the circle. Make sure to tilt the letters to make it look like they are wrapping around the circle. Once that is complete, re-group the letters so that you can move them as a group, if needed. When I did this, I curved them around the outside of the circle, grouped them, and then moved them inside the circle.
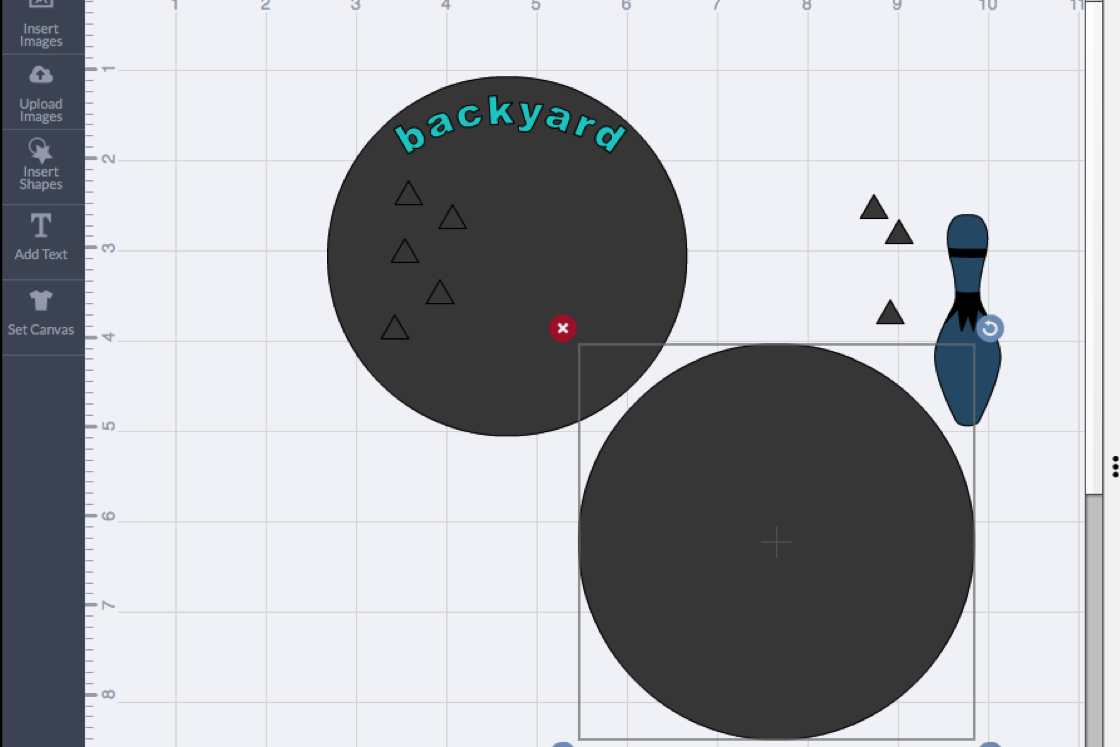
Step 3 - Place the bowling pin in the center of the circle and duplicate a few triangles to place around in a random pattern. I also used an extra, larger circle to create a ring around the "badge".
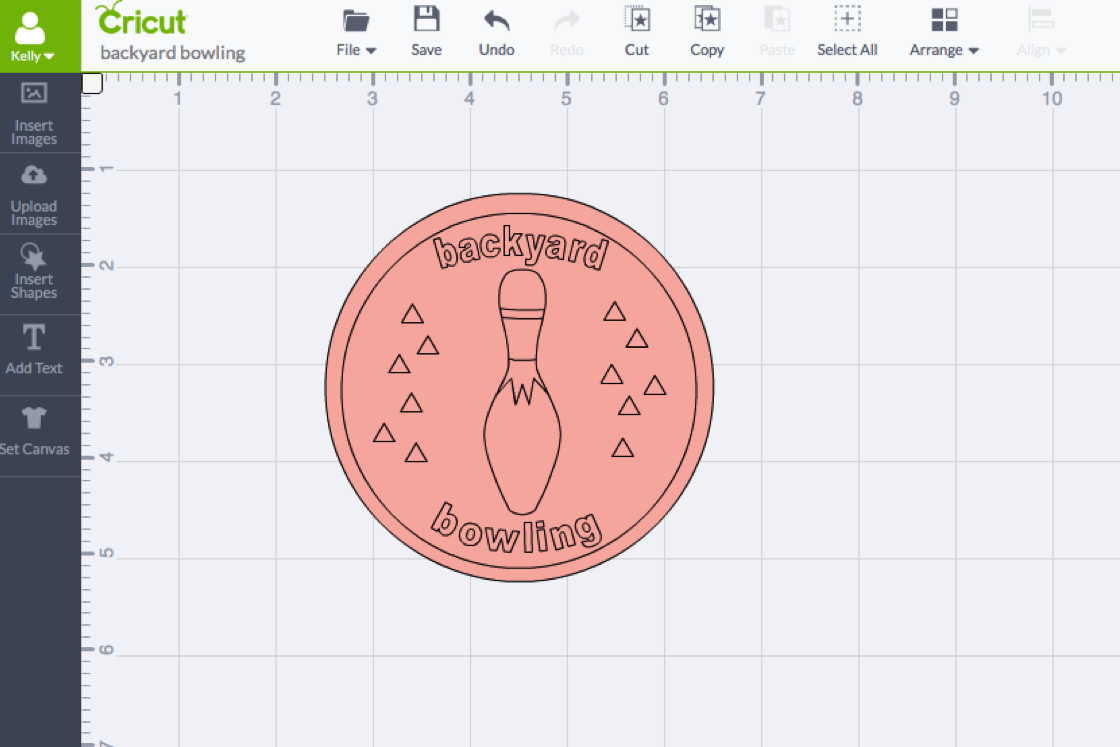
Step 4 - Once you have everything where you want it, click the attach button so that everything will be cut out of the same piece of iron-on material.
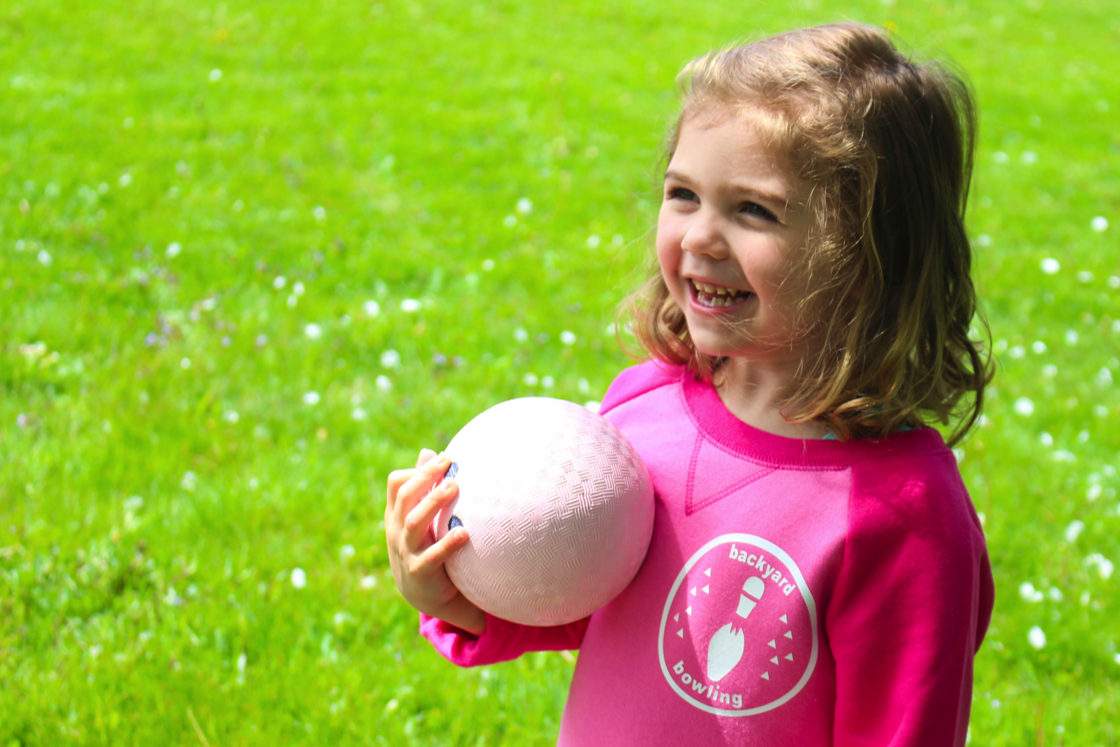
Step 5 - Press go, load your iron-on material, watch the Cricut cut out the design, weed the extra bits of material away, and then iron the badge onto a shirt of your choosing.
My kids felt so official, while playing backyard bowling!