Cricut sent me the Bright Pad to play around with and let you know what I thought. Although this is part of a partnership between Cricut and myself, all opinions/ideas are my own.
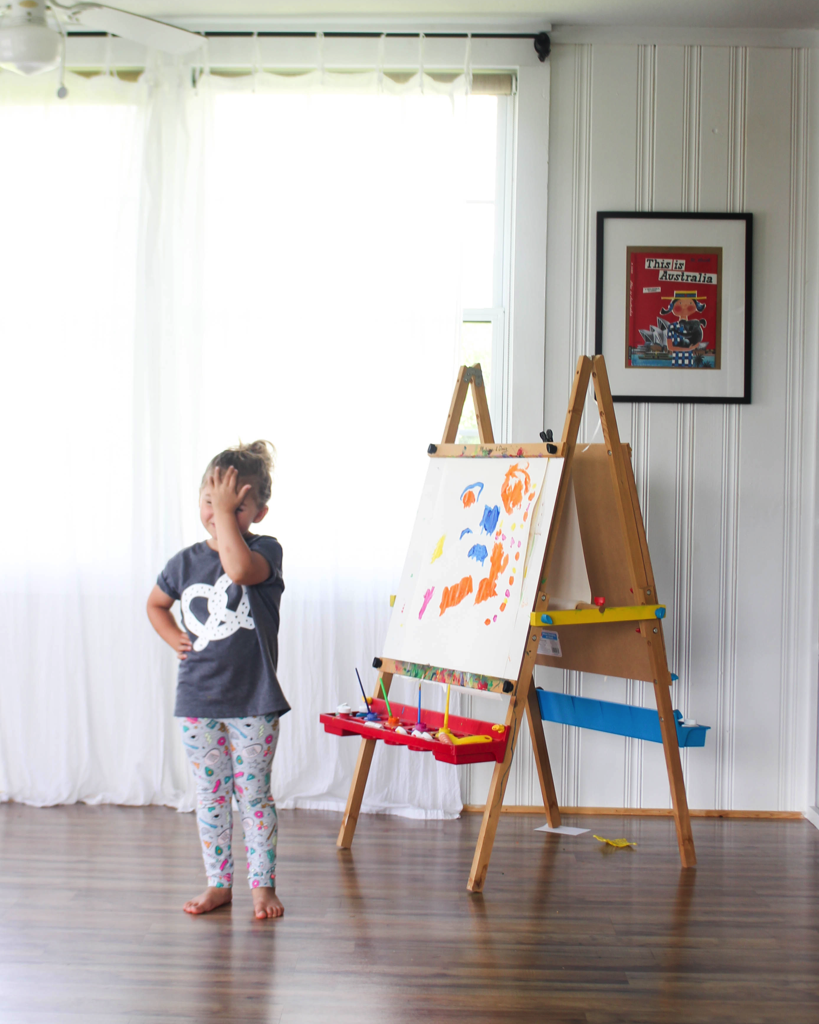
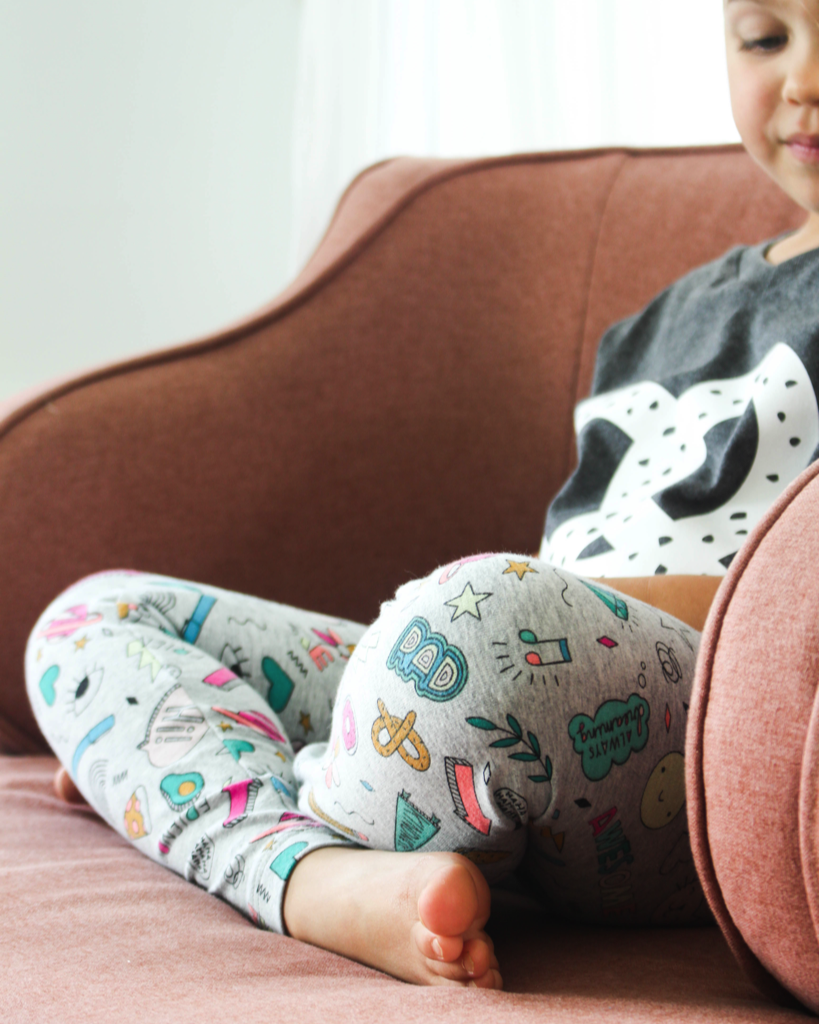
I love making shirts for my kids more than anything else. Especially now that Matilda is heading to the girls' department. I have never liked the tight stretchy shirt fabric and capped sleeves for girls. I didn't like it on myself either. So, I bought Matilda a bunch of shirts from the boys' section at Walmart for less than $3 each. Now, that is a back to school win!
Here is how you can make one, too:
1. Follow this link, or look up the image with the keyword "pretzel".
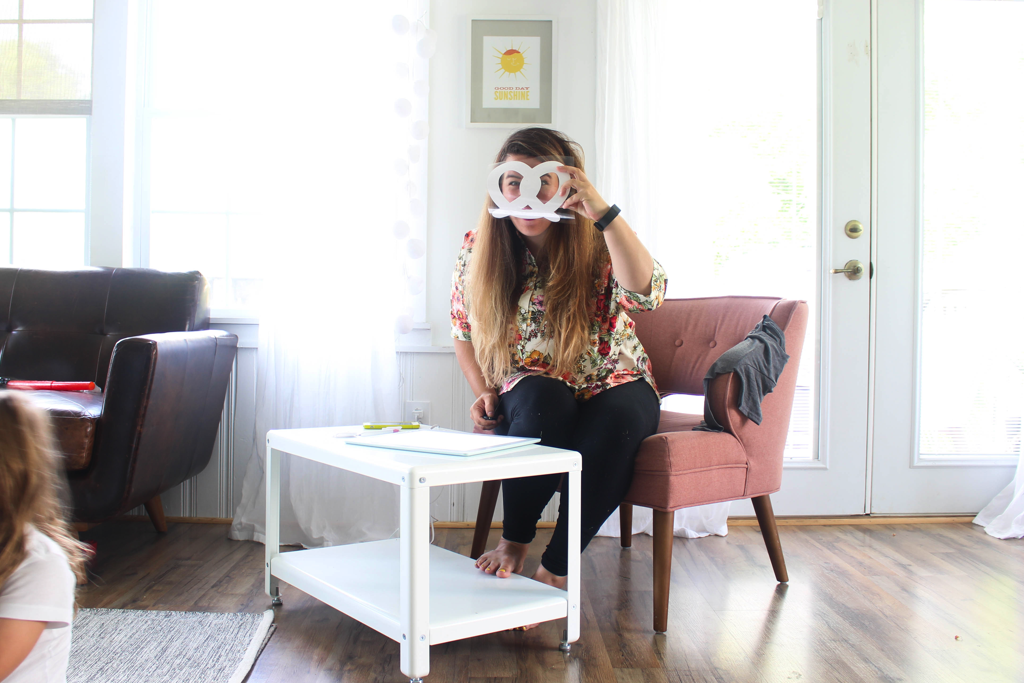
2. Adjust the image to fit the size of your shirt. Mine was 7.5" wide and 6" tall. I also hid the underlying image - only cutting the top layer with the holes.
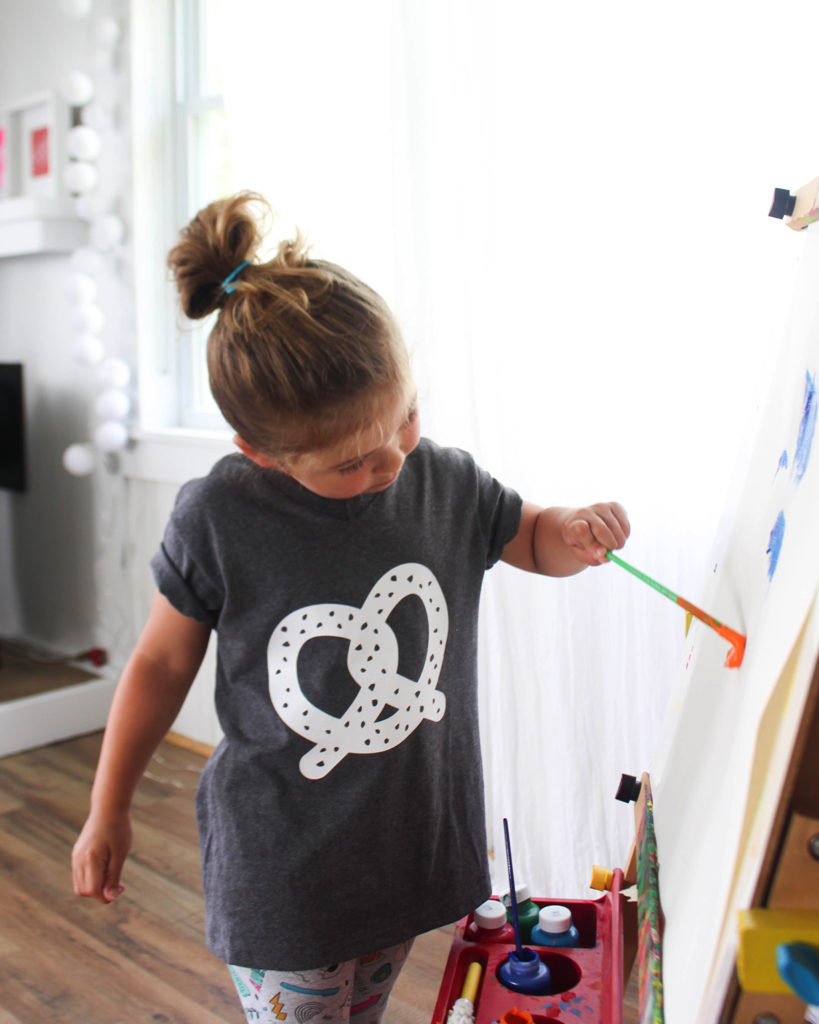
3. Use your Cricut Explore, Air, or Maker to cut out the pretzel on iron-on material.
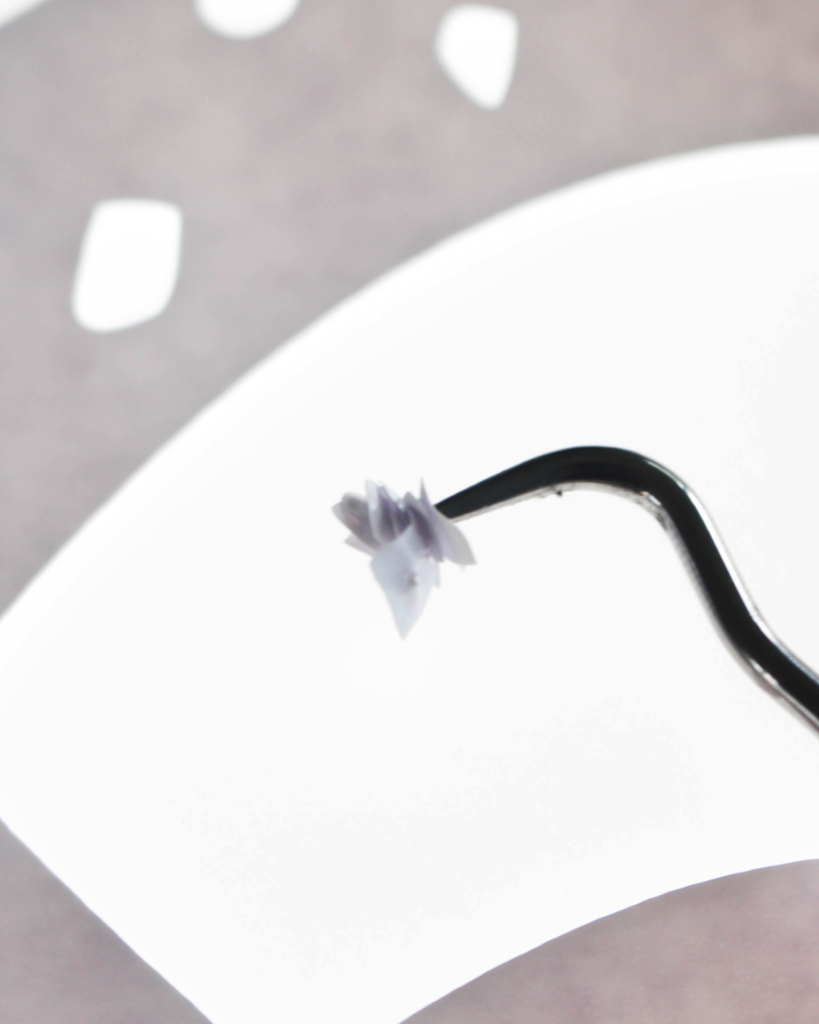
4. Next, I used my handy BrightPad (which I was given to review by Cricut) to weed the unwanted materials away from the iron-on.
5. Once you have the material ready, iron it onto any color shirt, as directed.
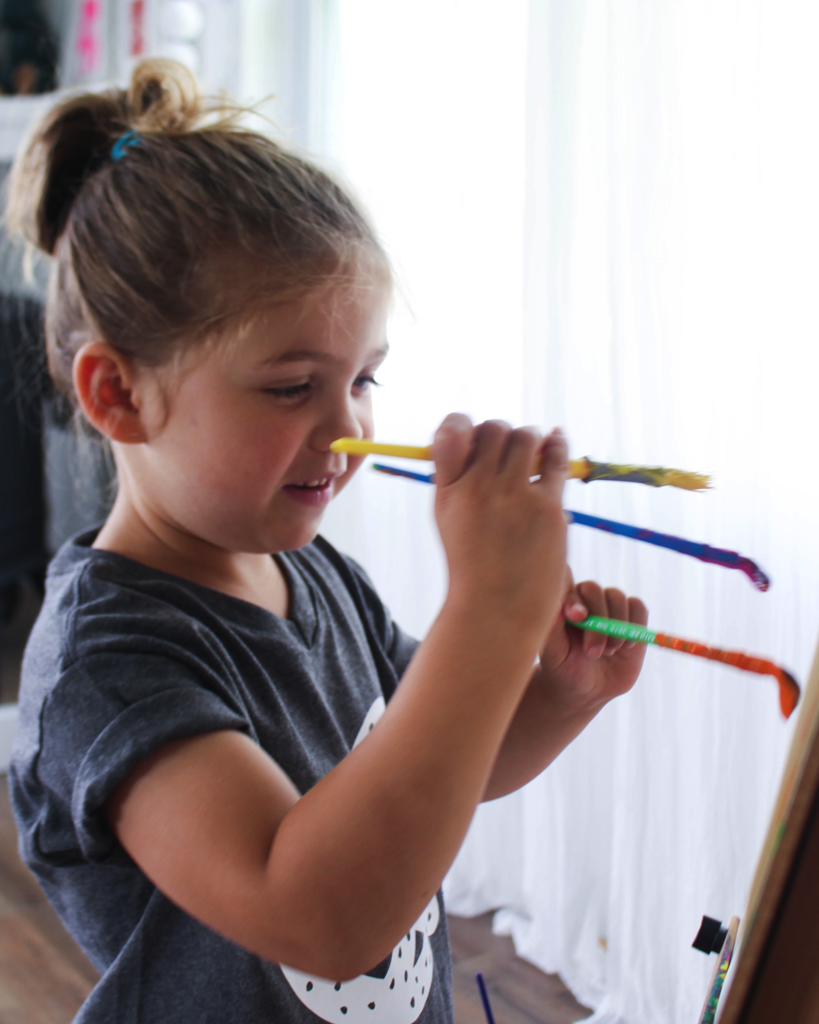
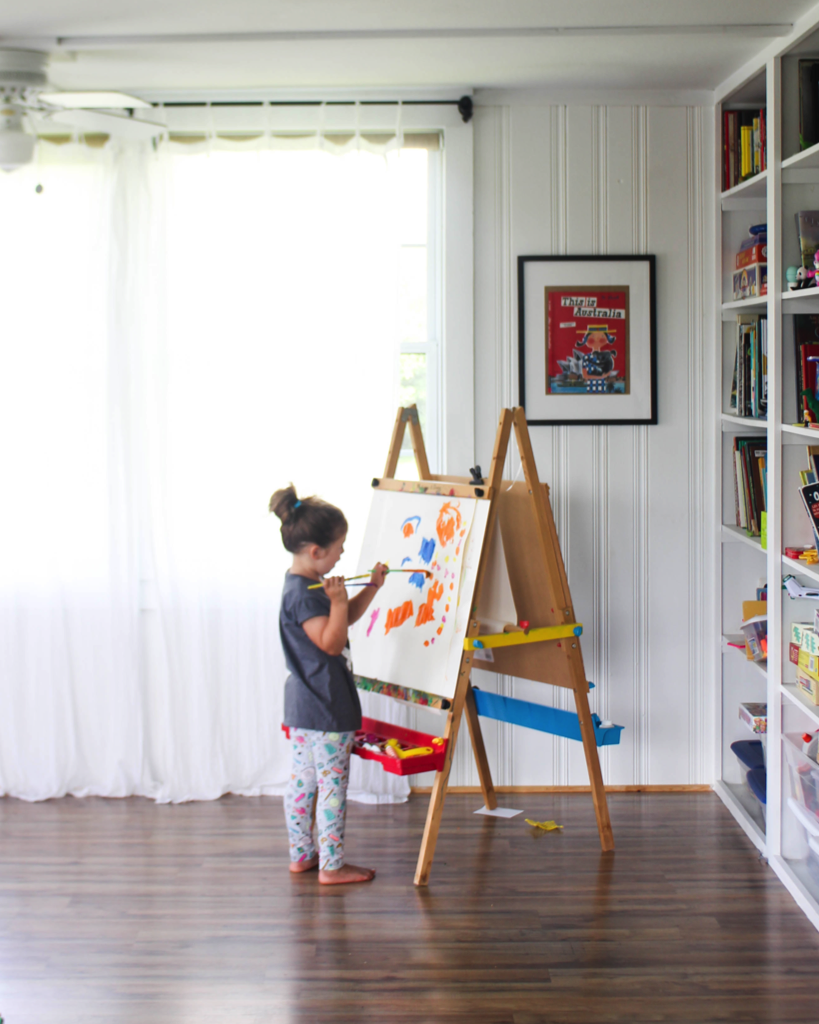
Matilda loves her new shirt, and Parker has already requested one for himself. My hope is that as Matilda starts full time school in Kindergarten this year, when she is worried, feeling sick, or unsure of what to do next, she will be able to look down at her shirt and feel my love. Look down and remember the day we had in the summer jumping around the playroom, taking turns picking out the salt pieces with the ease of the BrightPad. Which, by the way, is one fun tool! It really does make weeding so much easier by identifying every single little line cut by the Cricut. It is so durable that I don't need to worry about the kids handling it or using the sharp tools on it. Not to mention, Matilda loves to practice tracing her name with it, as do I for hand lettering. I would totally recommend it!