

Projects that are simple, cost effective, and have room for a little error are my kind of projects! I have been wanting to play around with "marbling" for a while and thought it would make for a fun Thanksgiving centerpiece. Here is how you can make your own:
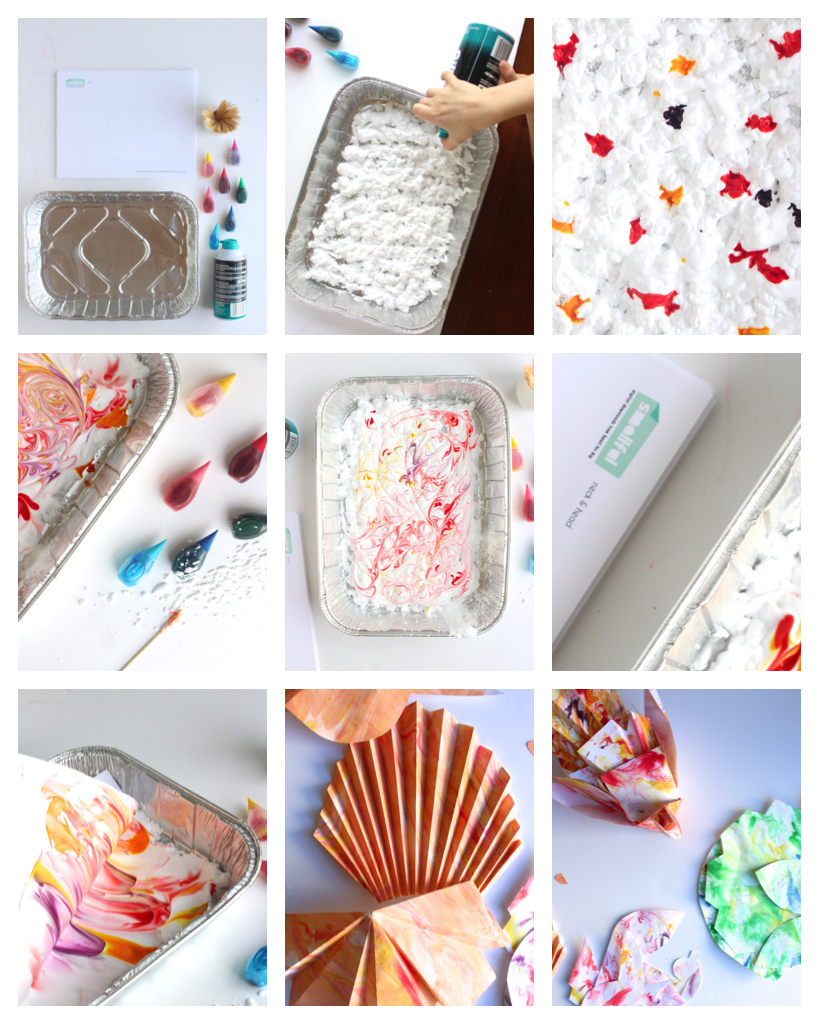
First of all, download this amazing turkey from my friend Mari's shop and print it out on a thick card stock. Next, spray some shaving cream into a pan so that the entire bottom is covered. Then, squirt a few drops of food coloring on top of the shaving cream. Take a tooth pick and make a swirling motion throughout the shaving cream to mix the colors. Take a sheet of card stock and place it face down into the cream, pressing lightly so that the color is absorbed throughout the entire page. Pick it up and scrape off any excess shaving cream with a knife and discard into a second pan. Then, set it aside and let it dry. Once the shaving cream is used up from the first pan, start placing your paper in the second pan. I found that I could get two uses from the cream, but by the third time around, the cream was too saturated in color to result in any marble effect. Once your paper is dry, just follow the instructions you downloaded with your turkey from Smallful.
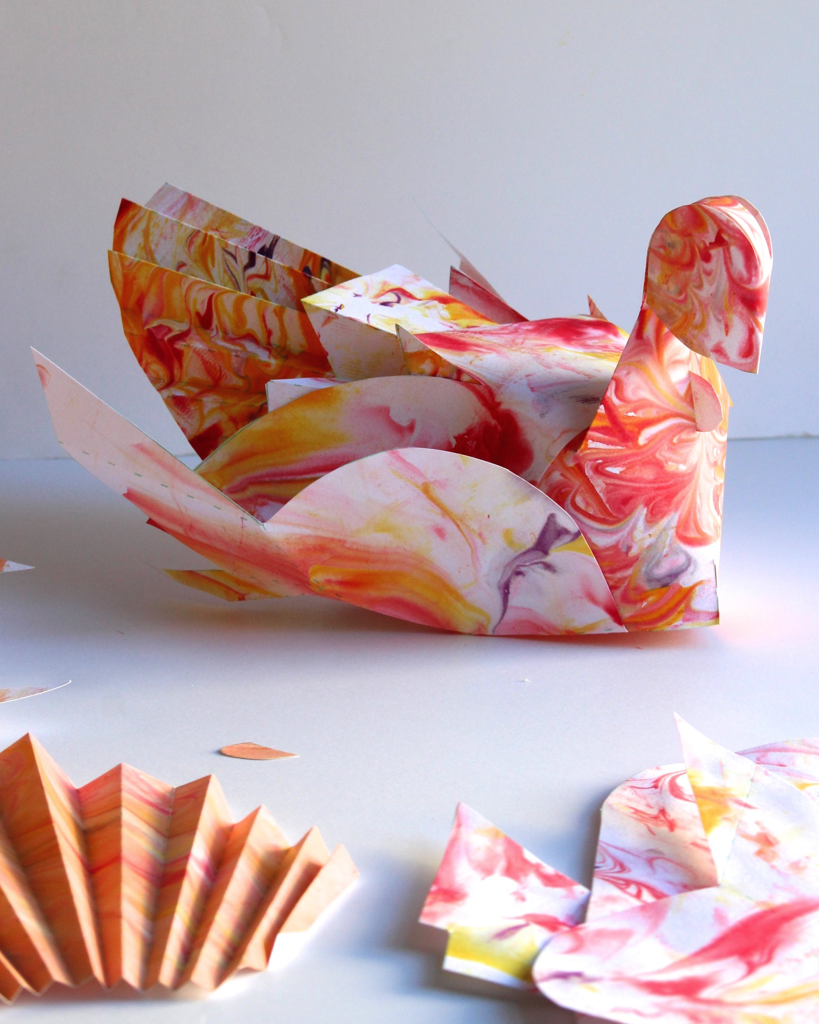
The kids had such a fun time making the marbled paper, but the cutting and folding of the turkey was a bit beyond them. I can think of so many different ways to use the Turkey download - make a bunch and cover a mantle, play around with the size and make giant ones or even small ones could be used as place holders. The possibilities are endless.


