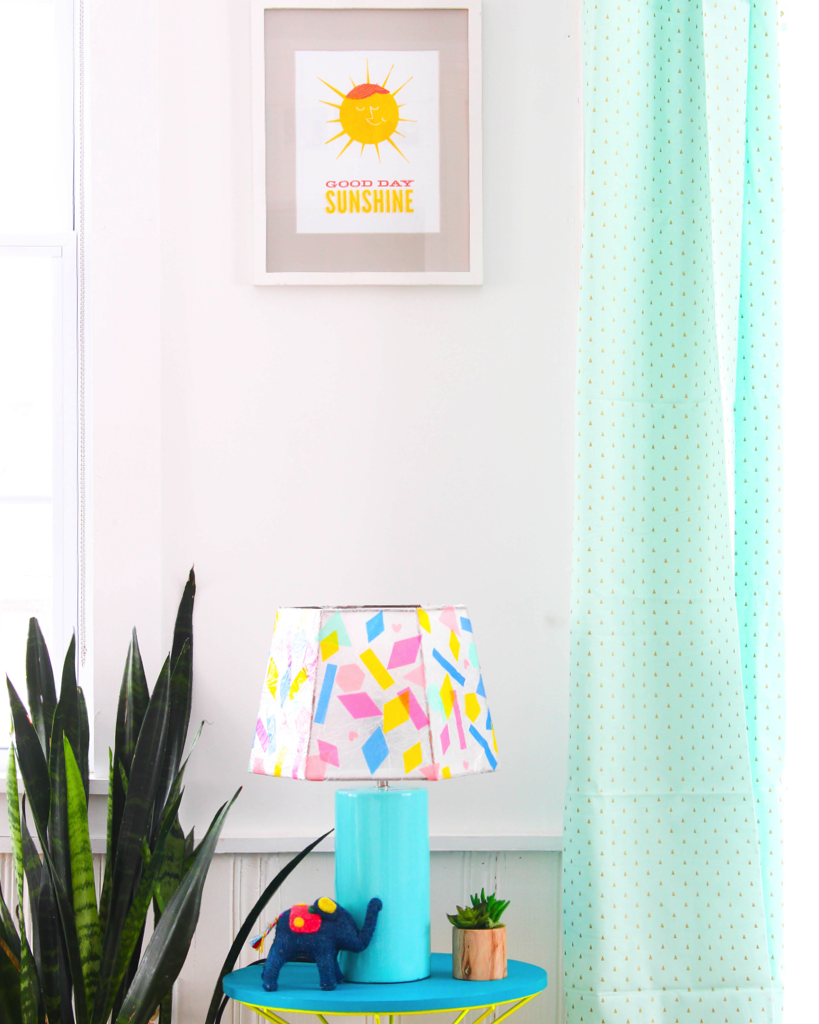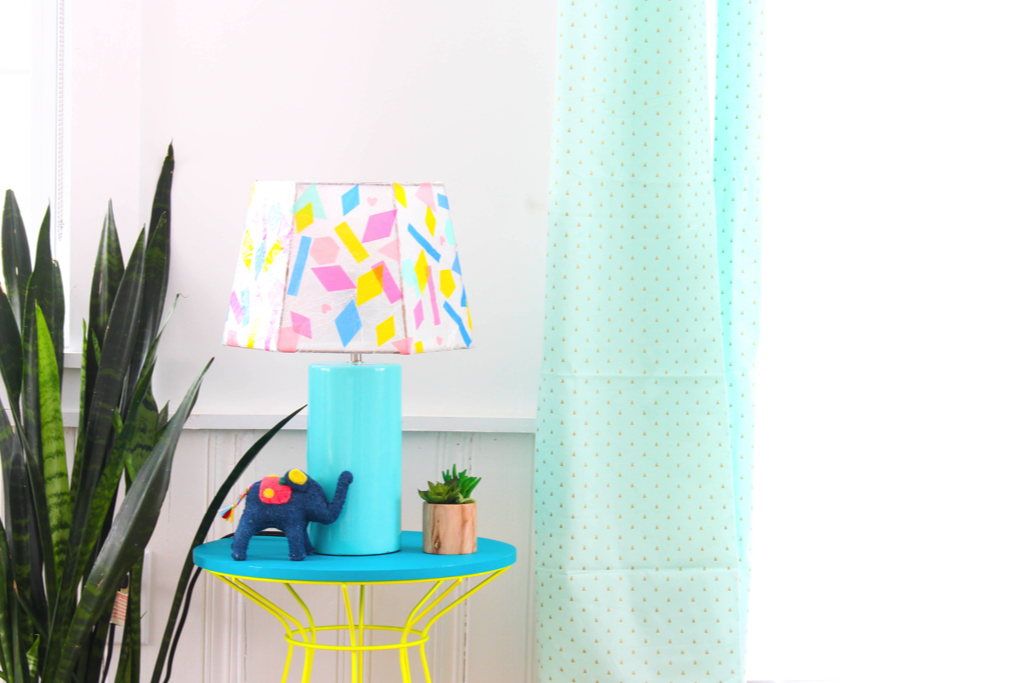
I recently found a couple lampshades at my local thrift store. They had a great shape, but a really ugly fabric covering. I bought them for less than $5 each and began brainstorming how they could be refinished.
So, after the kids and I finished this fun project, I had my idea - better yet, I partnered with Cricut for this colorful project! Here is how you can make your own geometic rainbow lampshade!
Supplies: lampshade, wax paper, mod podge, paint brush, vellum, Cricut, hot glue, and a lamp base.
Process:
- Remove the old lampshade.
- Using it as a template, trace around it onto the wax paper (leave 1/4 inch extra space around).
- In the new Design Space called Cricut Access: (a) select new project; (b) on the left sidebar, select insert shape and add one of each; (c) duplicate a few of the shapes and change the size (ex: have one small triangle and one large); (d) press go, turn the dial to custom, and select vellum; and (e) sit back and check in with Instagram, while your Cricut does the work.
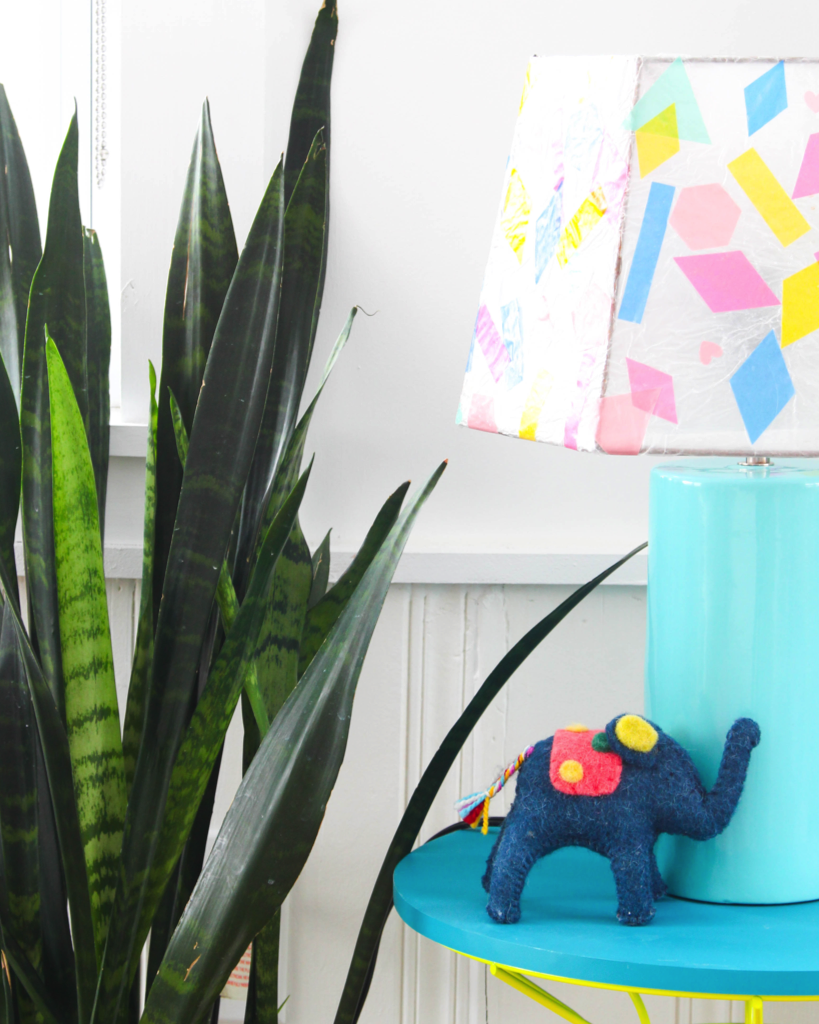
- Use a paintbrush to apply mod podge to the wax paper before laying out your design with the shapes - I think a random pattern looks best.
- Allow it to dry completely - I left mine alone overnight.
- Cut out the lampshade that you had traced in Step 2.
- Use hot glue to attach the wax paper to the lampshade skeleton. I started with the vertical bars, then went to the base tucking the edges carefully around and under. Then, I moved to the top and used the same tucking technique to hide the edges.
Time: This took me about an hour to complete (not including drying time).
This post was made possible through a partnership with Cricut!