

This easy DIY paint can pot will make just the right home for those purple shamrocks you saw at the grocery store. If you are anything like me, then you just had to buy them. Here is how you can make your own.
Supplies: a small paint can (I bought mine from the hardware store for less than $2), spray paint, acrylic paint, paintbrush, and a plant.
Process: Spray paint your can outside and let dry. Holding the can upside down and using your lightest color (mine was yellow), paint a U. I spaced mine out randomly and didn't worry too much about being perfect. Some are bigger, some are smaller, and some look a little wonky - that is all okay in my book. Then, add bands of different colors on either side. I added the Shamrocks once all the paint had dried.
Time: Including dry time, this project took me an hour to complete.
I plan on giving these to a friend for a little pick-me-up. Don't we all need a few more rainbows in our life?
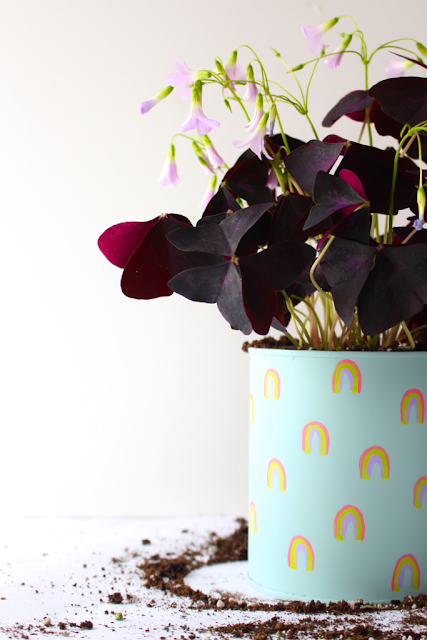


P.S. I am not the best at actually keeping my plants alive, but if you are you, might want to drill some holes in the bottom for proper water drainage or you might just stick some rocks at the bottom before adding the dirt.

