I have been wanting to try this trick for years and St. Patrick's Day seemed like a fun time to do it. Here is how you can make your own:
Supplies: sandpaper, crayons, iron, fabric bag, and paper towel (yarn, scissors, and paper clip/safety pin are optional)
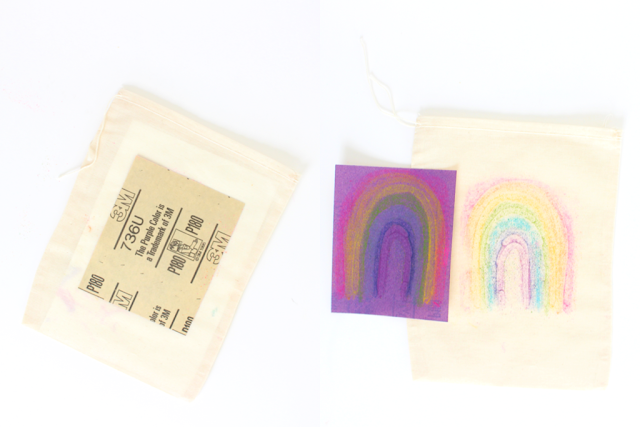
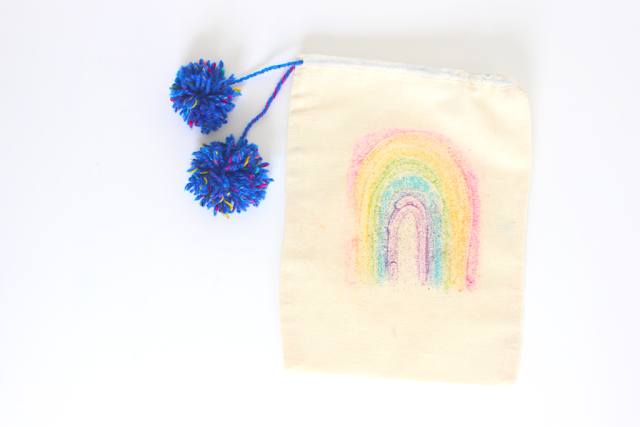
Process: Color anything you want onto the sandpaper (just remember that if you do words they will transfer backwards). Next, place the sandpaper face down on the fabric bag, place a paper towel on top of that, and then iron for a little while on high heat. I just kept peeking until it transferred completely.
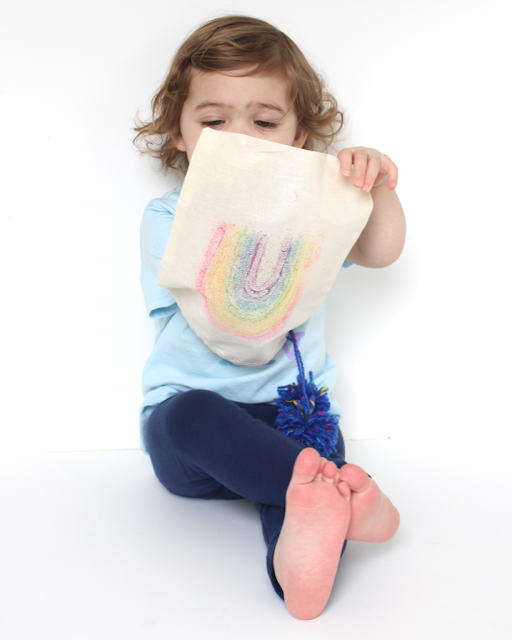
If you want to make a pom-pom or two for the string on the bag that is just as easy. Wrap a bunch of yarn around your fingers 30 or so times. Slowly slide your fingers out and place onto a table. Next, cut and tie another piece of yarn as tightly as you can around the middle of the yarn ball. Slip some scissors between the loops on both ends and cut. Be sure to leave a long string on one of the ends. Once all the loops are cut, chop away until you get a fluffy little ball. Take a safety pin (I could only find a paper clip when I did this) and attach one end to both the string of the pom-pom and the string of the bag. Then, pull the original string all the way through including the new string with the pom-pom on the end. Now, make another pom-pom and use the end of the string to secure its middle. Chop, fluff, and give as a gift!
Time: This took no more than 15 minutes from start to finish.