
One night Tyler and I had the best time remembering all the things we used to use to occupy ourselves during long car rides before movies in the car were a thing. And we landed on the same favorite, the stencil. Simple, easy to leave in the car, and loads of fun.
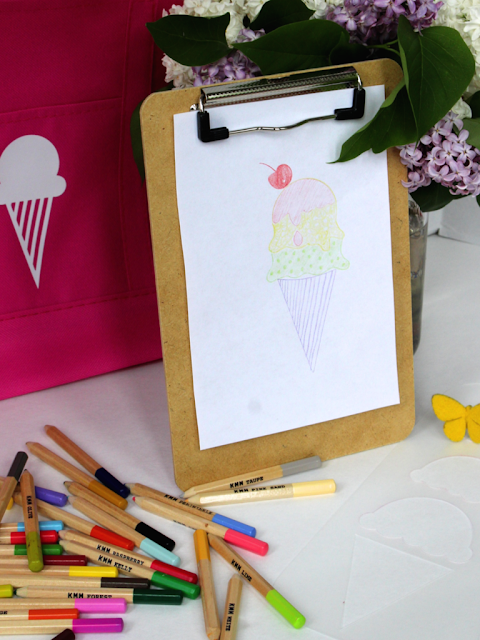
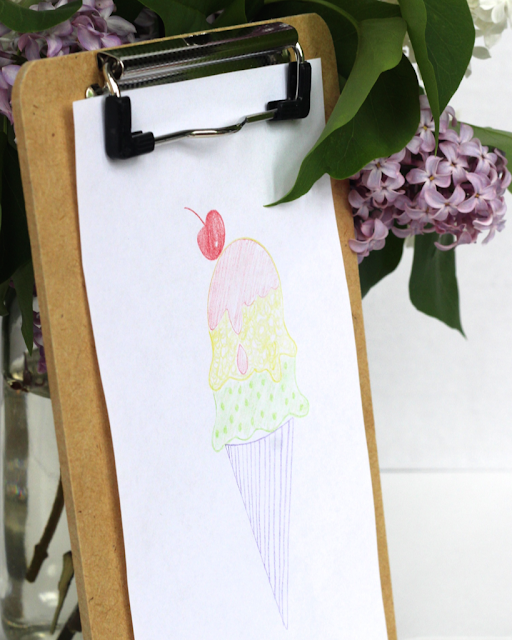
And because I like to DIY and I like summer treats, I decided to make my own ice cream stencil. Here is how you can make one, too!
Materials: chop mat (I got a two pack from the dollar store in the kitchen section), Cricut Explore with a deep cut blade, colored pencils, and a notepad.
Process:
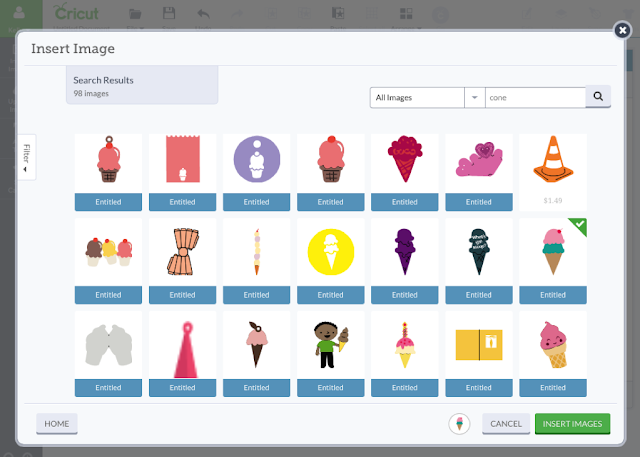
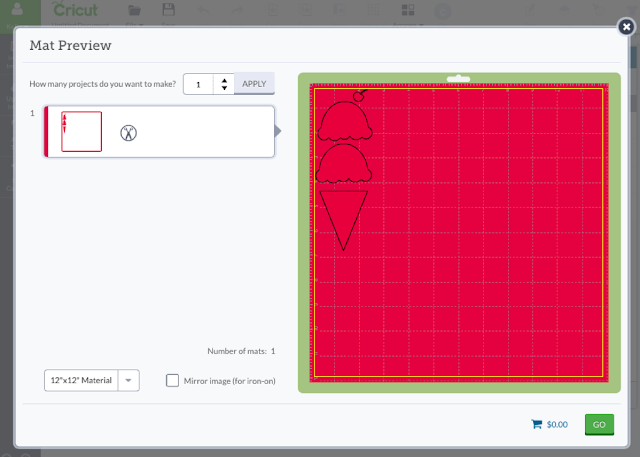
- insert a design from the Cricut Design Space
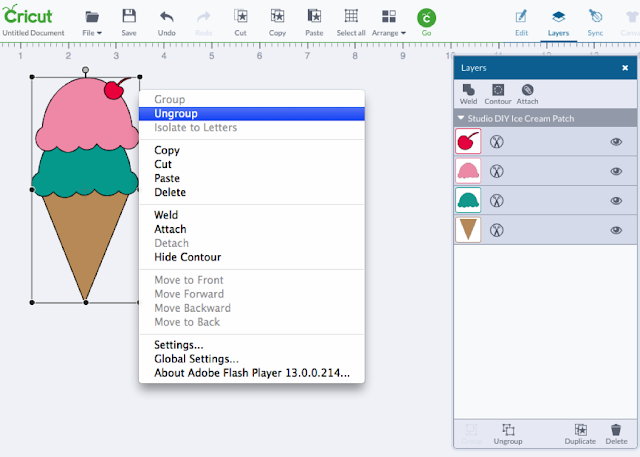
- most of the designs consist of multiple layers - to separate the design into its individual layers, select it, right click it, and ungroup it
- arrange the individual layers as you wish for your stencil (we used parts of multiple images)
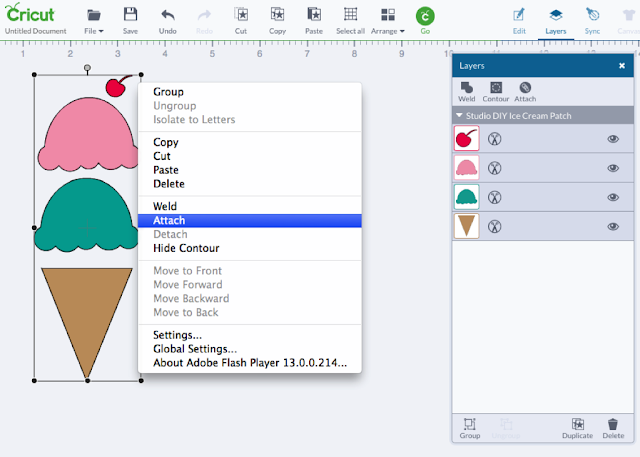
- select all the parts of your stencil and attach them (available in the Layers panel or the right click context menu) - this will keep them grouped exactly as they are laid out on the screen
- after you load the stencil material onto a mat, make sure to turn your dial to the custom setting, then in the Go tab select CHIPBOARD - 0.55mm. I tested a few options and that one won, hands down!
This is not a sponsored post. I just really believe in their product and company.


